Introduction


Bedrock Server Manager is a comprehensive python server designed for installing, managing, and maintaining Minecraft Bedrock Dedicated Servers with ease, compatible with Linux/Windows.
Features
Install New Servers: Quickly set up a server with customizable options like version (LATEST, PREVIEW, or CUSTOM versions).
Update Existing Servers: Seamlessly download and update server files while preserving critical configuration files and backups.
Backup Management: Automatically backup worlds and configuration files, with pruning for older backups.
Server Configuration: Easily modify server properties and the allow-list interactively.
Auto-Update: Automatically update the server with a simple restart.
Content Management: Easily import .mcworld/.mcpack files into your server.
Resource Monitoring: View how much CPU and RAM your server is using.
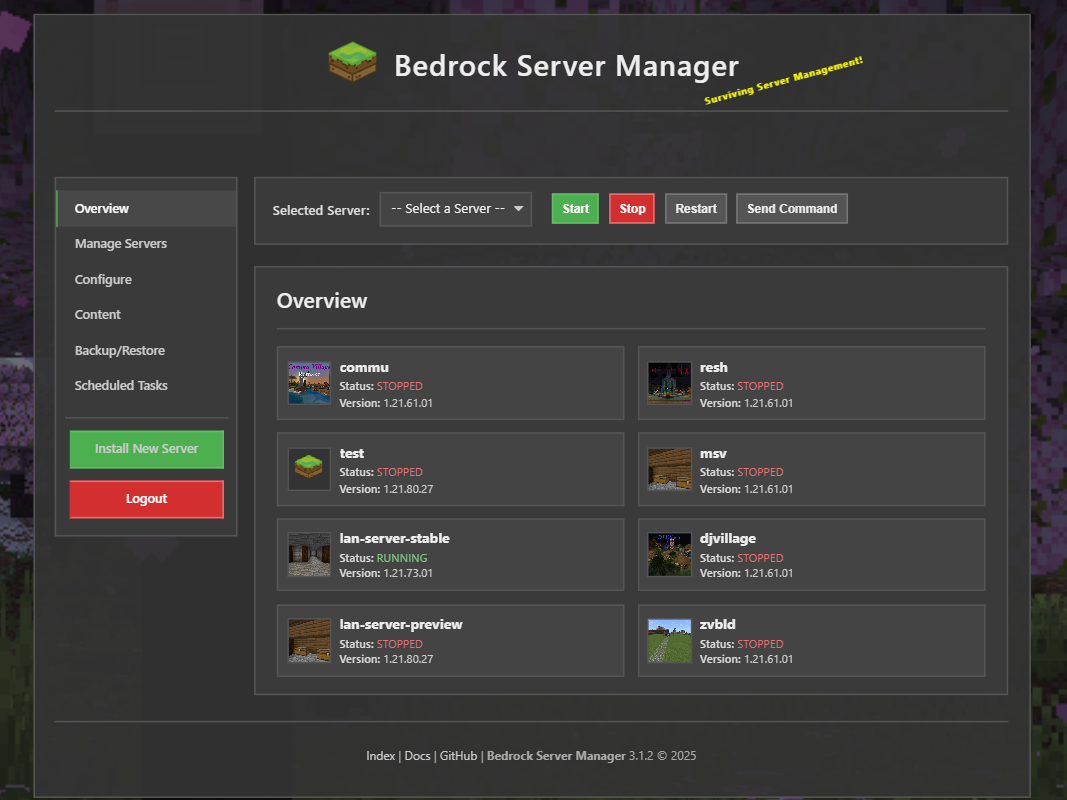
Web Server: Manage your Minecraft servers in your browser, even if you’re on mobile!
Plugin Support: Extend functionality with custom plugins that can listen to events, access the core app APIs, and trigger custom events.
Quick Start Guide
Bedrock Server Manager is also available as a docker image. See the Docker Guide for more information.
Step 1: Installation
Note
This app requires Python 3.11 or later, and you will need pip installed.
First, install the main application package from PyPI:
pip install --upgrade bedrock-server-manager
(Optional) Install the API Client for CLI Management
To manage your servers from the command line, install the optional API client:
pip install --upgrade "bsm-api-client[cli]"
This provides the bsm-api-client command, which allows you to perform various tasks via the API.
See the Installation Guide for beta or development versions.
Step 2: Configure the Web Server
To get started with the web server, its recommended to run the setup command first:
bedrock-server-manager setup
This command will prompt you for the necessary configuration details, such as:
Data Directory: The location where the application will store its data (default is
$HOME/bedrock-server-manager).Databse URL: The URL for the database connection (default is
sqlite:///<data_dir>/bedrock_server_manager.db).Host: The IP address the web server will listen on (default is
127.0.0.1).Port: The port the web server will use (default is
11325).System Service: Whether to install the web server as a system service (default is
no).
If you choose not to run the setup command, default values will be used. This can be changed later by running the setup command.
Step 3: Run the Application
To start the web server, use the following command:
bedrock-server-manager web start
By default, the server listens on 127.0.0.1:11325. Once running, you can access the web interface in your browser at this address.
Once the server is running, a one first-time setup will be required. This includes setting up an admin user account and configuring your first bedrock server.
See the Web Usage Guide for more examples, like how to run the server on a different IP.
What’s Next?
Bedrock Server Manager is a powerful tool for managing Minecraft Bedrock Dedicated Servers. To explore more about its capabilities, check out the following sections:
Web Usage: Discover how to use the web interface for server management.
CLI Commands: View what commands are available for the core application.
API Client CLI Commands: View what commands are available in the
bsm-api-clientpackage.Plugins: Explore how to extend the functionality of Bedrock Server Manager with custom plugins.
Changelog: Stay updated with the latest changes and improvements in each release.
Troubleshooting: Find solutions to common issues.
Contributing: Find out how you can contribute to the project and help improve it.
License: Understand the licensing terms under which Bedrock Server Manager is distributed.